Alright, let’s get on with it. F5 that baby!
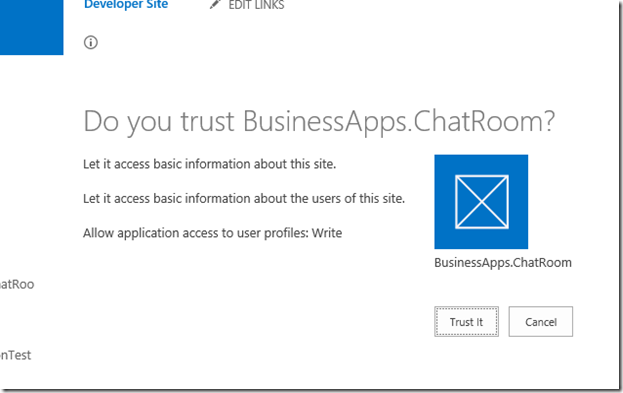
At this point, Visual Studio will automatically deploy our application and then launch a browser to our app. It may also ask us to login again. If it does, be sure to use an account that has permissions to deploy to the development site. Finally, it will ask us if we trust the app. Hopefully we do, since we built it! Note that it’s requesting permission to allow Write access to the user profiles. Click “Trust It” and SharePoint should then redirect us to the app.
SharePoint will then route us over to our new app.
How cool is this? It loaded! Are you doing your chair dance yet? If not, you should be! No, seriously, get down with your bad self!
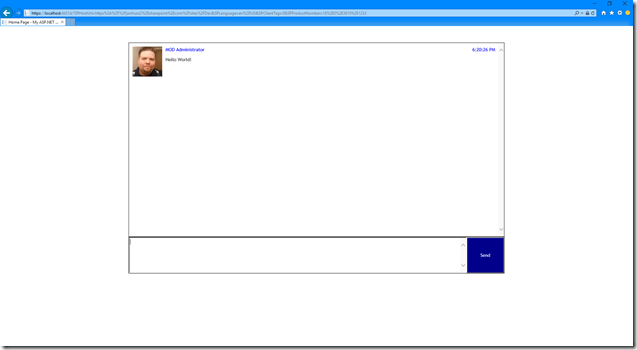
Ok, so it’s not so exciting right now. Let’s try sending a message:
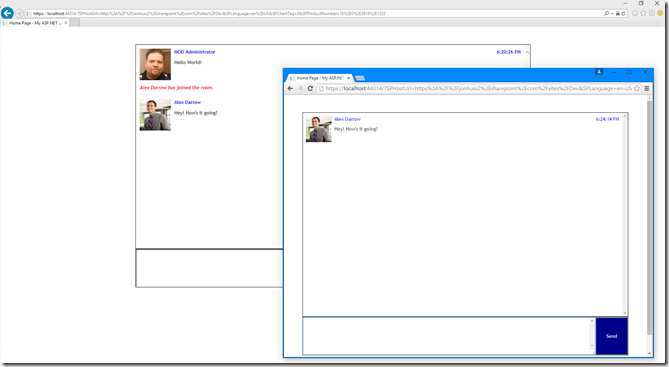
Nice! The profile photo loaded just as planned and, although we can’t tell just by looking at, the time stamp is also localized to the recipient’s machine. Now, it’s not really a chat room unless we have more than one user, right? So, let’s launch a separate browser and login as another user, and then send a message. Notice that the ‘join’ message appears first and then the second user’s message is displayed in both browsers. How cool is that?!
Ok, so our chat room works and that’s fun. However, it’s not all that useful sitting in a window by itself. It’d be MUCH better if we can host it in a Web Part that would allow us to access our SharePoint page in addition to the chat room. So, let’s do do that!
Part 1: Create the SharePoint Online app and associated website
Part 2: Test the app in Visual Studio
Part 3: Create the SharePoint Online web part
Part 4: Deploy the site to Azure

![image_thumb41[1] image_thumb41[1]](https://www.jonathanhuss.com/wp-content/uploads/2015/04/image_thumb411_thumb.png)

