Deploy the site to Azure
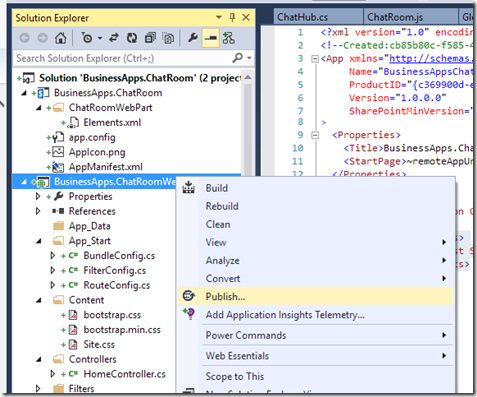
Next, we need to create a publishing profile and then deploy the application to Azure. In Visual Studio, right click the Web project and select “Publish…”
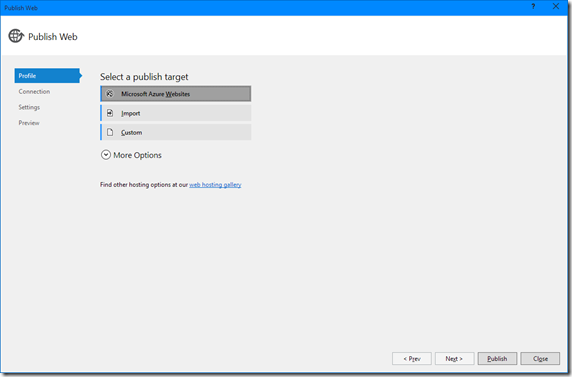
Since we’re going to be deploying this site to Azure, select a publish target of “Microsoft Azure Websites” in the window that opens:
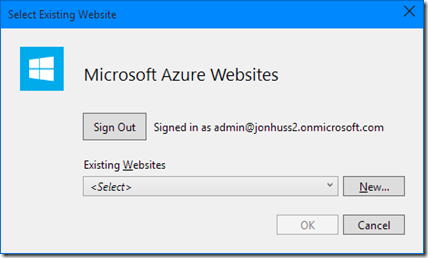
Visual Studio may ask to sign in to an Azure account. Everyone is given an Azure account for free with Office 365 that, at least as of 4/2/2015, provides for 10 free websites! Go ahead and sign in using admin credentials if it asks:
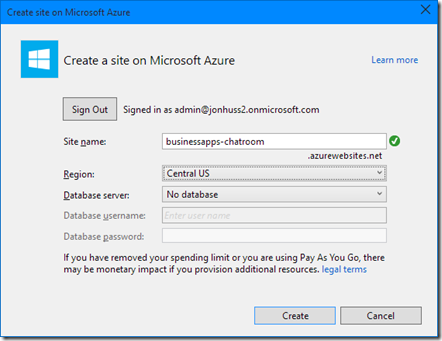
Next, we need to come up with a name for our Azure website. In this case, we’re going to use the same name that we used when we added the app to SharePoint on the AppRegNew.aspx page: businessapps-chatroom. Click “New…” to open the dialog to create the site. In the window that opens, we’ll enter the name of the site in the “Site name:” field. Visual Studio will automatically check to ensure that the site name is available. We’ll also select a Region. I generally choose the Central US region since it’s closest to my physical location, thus, theoretically anyway, giving better performance:
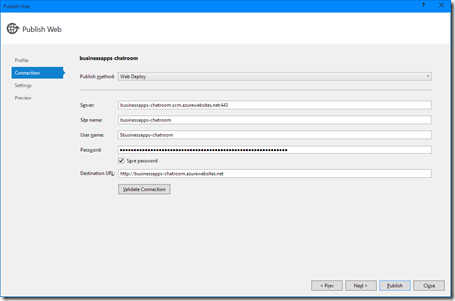
Click Create and Visual Studio will begin to provision our new Azure website.. Once the site has been provisioned, the Connection dialog is displayed with the necessary information pre-populated. Leave all of this information as-is:
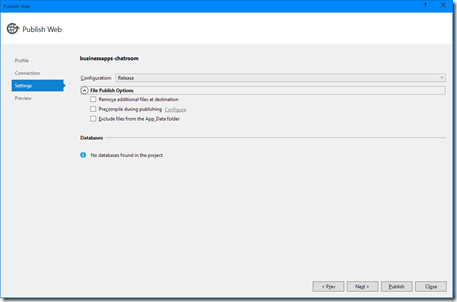
Click the Next button and the Settings dialog will be displayed. Again, leave all of this information as-is:
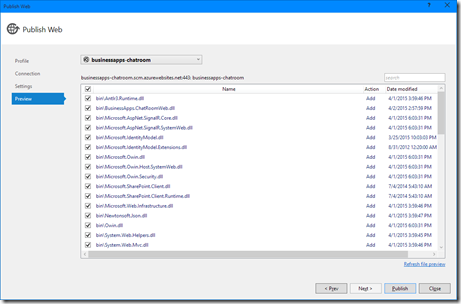
Click the Next button again and the Preview dialog will be displayed. Clicking Start Preview will show all of the files that will be deployed. Since this is our first deployment, the entire web application will be deployed.
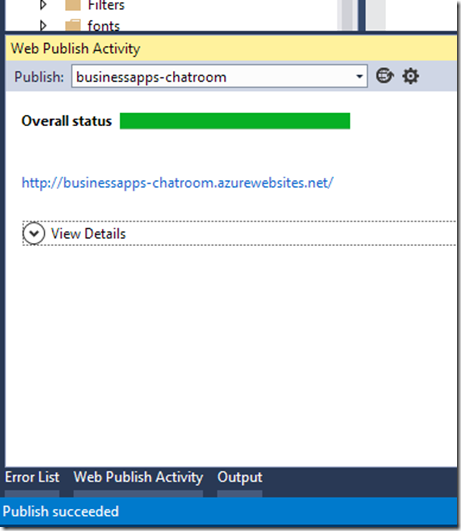
Finally, click Publish and Visual Studio will deploy our site to Azure. Open the “Web Publish Activity” window to see the progress of the deployment. When the deployment is complete, Visual Studio will display a “Publish succeeded” message at the bottom of the window:
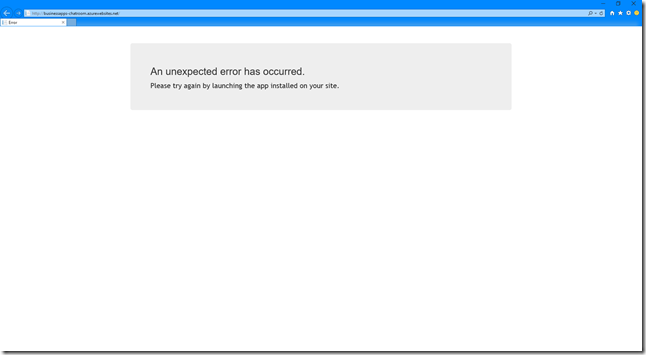
After deploying, Visual Studio will automatically try and launch the website. However, since our site depends on SharePoint details, which aren’t provided automatically by Visual Studio, the site just throws an error:
And that’s all there is to deployment a website to Azure!
Part 1: Create the SharePoint Online app and associated website
Part 2: Test the app in Visual Studio
Part 3: Create the SharePoint Online web part
Part 4: Deploy the site to Azure
